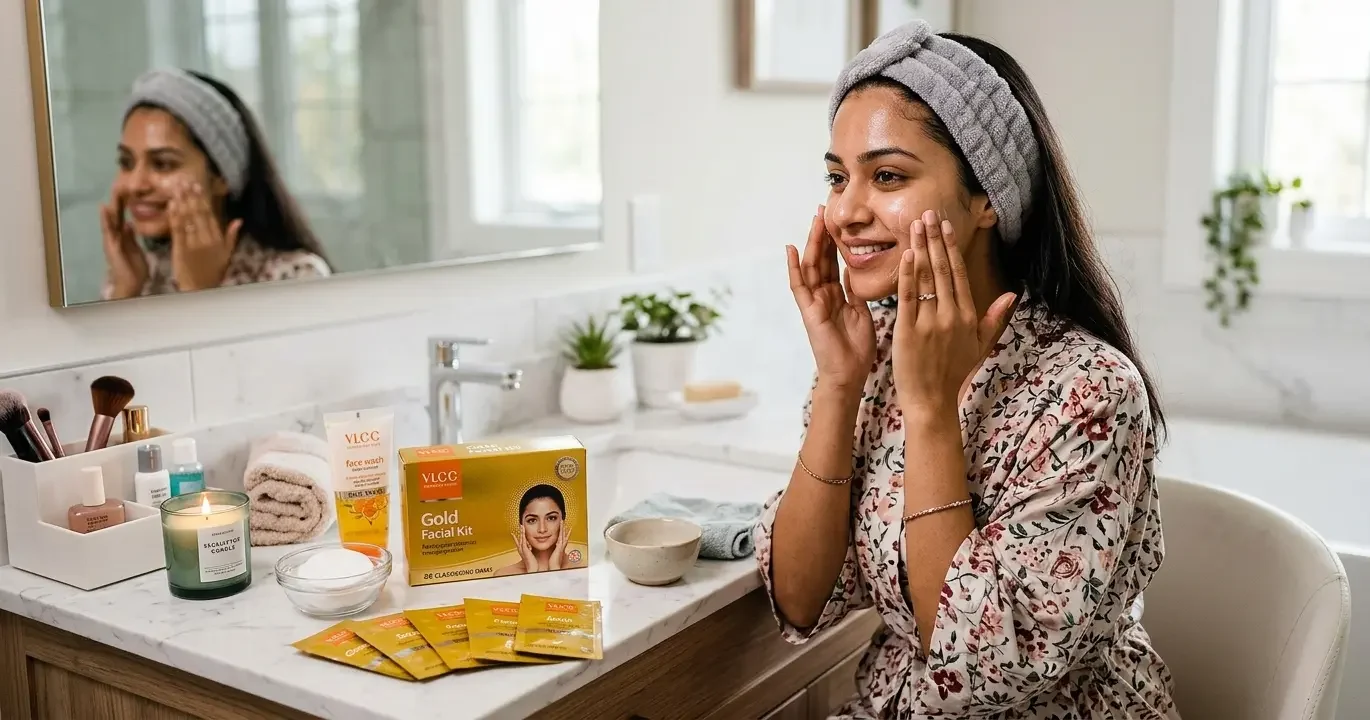
DIY Facial at Home – In our fast-paced lives, finding the time to visit a salon for a professional facial can feel like a luxury we can’t always afford. However, your skin doesn’t have to suffer just because your schedule is packed. With the right products and a little bit of “me-time,” you can achieve that elusive salon-like glow right in your own bathroom.
At Saavra, we believe that professional skincare should be accessible to everyone. That is why we stock professional-grade solutions like VLCC Facial Kits, which are designed to deliver targeted results for various skin types. Whether you are prepping for a special event or simply want to reset your skin after a long week, here is your comprehensive guide to performing a DIY facial at home.
Step 1: Set the Mood and Prep
A salon experience is as much about relaxation as it is about extraction. Start by pulling your hair back with a headband. Wash your hands thoroughly, and if you can, light a scented candle or put on some calming music.
Pro Tip: Begin with a clean slate. Use a gentle makeup remover or micellar water to ensure every trace of kohl, foundation, and sunscreen is gone before you start the actual facial process.
Step 2: Deep Cleansing
Every professional facial kit starts with a cleanser. Apply the cleanser from your kit to your face and neck, using upward circular motions. This isn’t just about removing surface dirt; it’s about prepping the pores. Massage for 2–3 minutes and wipe away with a damp cotton pad or lukewarm water.
Step 3: Exfoliation (The Game Changer)
This is where the transformation begins. The scrub in professional kits contains micro-granules that slough off dead skin cells that make your complexion look dull.
- Apply the scrub gently.
- Focus on the T-zone (forehead, nose, and chin) where blackheads usually reside.
- Do not scrub harshly. Let the product do the work.
- Rinse with cool water to reveal a smoother texture.
Step 4: Steam and Extraction
If you don’t have a steamer, simply soak a small towel in warm water, wring it out, and drape it over your face for 5 minutes. This opens up your pores, making the subsequent steps much more effective. If you have a few whiteheads, you can gently use a tissue to apply pressure, but avoid aggressive picking, which can lead to scarring.
Step 5: The Relaxing Massage
This is the heart of the facial. The massage cream in kits like the VLCC Gold or Pearl Facial is formulated to nourish the skin deeply.
- Use your fingertips to massage the cream into your skin using upward and outward strokes.
- Spend at least 10–15 minutes on this step.
- Massage helps in lymphatic drainage and increases blood circulation, which provides that natural “flush” or glow.
- Keep a small bowl of water nearby to dampen your fingers if the cream starts to get too thick.
Step 6: The Treatment Mask
After the massage, your skin is primed to absorb nutrients. Apply the face pack evenly across your face and neck, avoiding the delicate eye area. This mask “locks in” the moisture from the previous steps and tightens the pores.
- The Golden Rule: Do not let the mask dry until it cracks. If it gets too tight, it can actually pull moisture out of your skin.
- Remove it while it’s still slightly damp (usually 10–15 minutes) using a cold sponge.
Step 7: Hydrate and Protect
Finish your DIY session by applying the serum or finishing gel provided in the kit. If your kit doesn’t include one, use your favorite lightweight moisturizer. This creates a protective barrier, keeping your skin hydrated and glowing for days.
Why Choose Professional Kits Like VLCC?
Using a curated kit takes the guesswork out of skincare. Each sachet is measured for a single-use treatment, ensuring you use the right amount of active ingredients.
- VLCC Gold Facial: Ideal for weddings or parties where you want an instant, luminous shimmer.
- VLCC Diamond Facial: Great for anti-aging and skin polishing.
- VLCC Papaya or Anti-Tan: Perfect for removing sun damage and evening out skin tone after a vacation.
Post-Facial Care
To make your glow last:
- Avoid Makeup: Try to stay makeup-free for at least 6–12 hours.
- Stay Hydrated: Drink plenty of water to help flush out toxins.
- Sun Protection: Your skin is freshly exfoliated and sensitive. If you’re heading out, apply a high-SPF sunscreen immediately.
By following these steps, you aren’t just cleaning your face; you’re performing a ritual of self-care. Ready to start your glow-up? Explore our full range of professional facial kits and skincare essentials at Saavra.in today!